Your Cart is Empty
FOUR GENERATIONS ONE TRUSTED NAME


STEP 1:
The first step is to weigh out your core fibre. I used 30g per ball not including surface decoration. Despite being the same weight my balls did come out slightly different sizes.

STEP 2:
Pull out a strip of fibre and start rolling it into a tight ball.
STEP 3:
Pull off another strip of fibre and spread out the fibres, place your ball at one end with the fibre direction going the opposite way this time and roll tightly. We want the fires criss-crossing in all different directions to aid felting.
STEP 4:
Repeat Step 3 until you have used up all of your core fibre. 
STEP 5:
Now you can add a decorative layer if you wish. I try to avoid too much colour for dryer balls as I don’t want colour running although I never have had a problem with our Corriedale colours. 
STEP 6:
The next step is to wrestle it into the stocking toe. Pop your hand in the stocking down to the toe and grab around your ball and pull it in. 
STEP 7:
You need to secure your ball in the stocking nice and tight. I tie a knot to secure mine but they are a bit tricky to untie later on. You may be better off using a rubber band or hair tie. It’s up to you. 
STEP 8:
Throw them in the washing machine! I like to pop mine in with a load of towels on a hot wash and with regular wash detergent, no softeners. I use a front loader, this felts things in one wash. if you have a top loader you may find that you’ll need to pop the balls through twice to completely felt.
STEP 9:
When the washing machine has finished pull your dryer balls out. Some fibres will have felted through the stocking and they will looks smaller and feel a lot harder than when they went into the machine.
 Don't be fooled by that red one, it's a ring in made for next week's tutorial. There's no red balls going in with my white laundry thank you!
STEP 10:
The next step is probably the hardest, you need to undo the knot and slowly pull the stocking off which takes a bit of grunt. Try to avoid just cutting the knot off though as this will make it difficult to peel off the stocking leaving you with very little to grip onto, not to mention that you won’t be able to reuse the stocking. 
STEP 11:
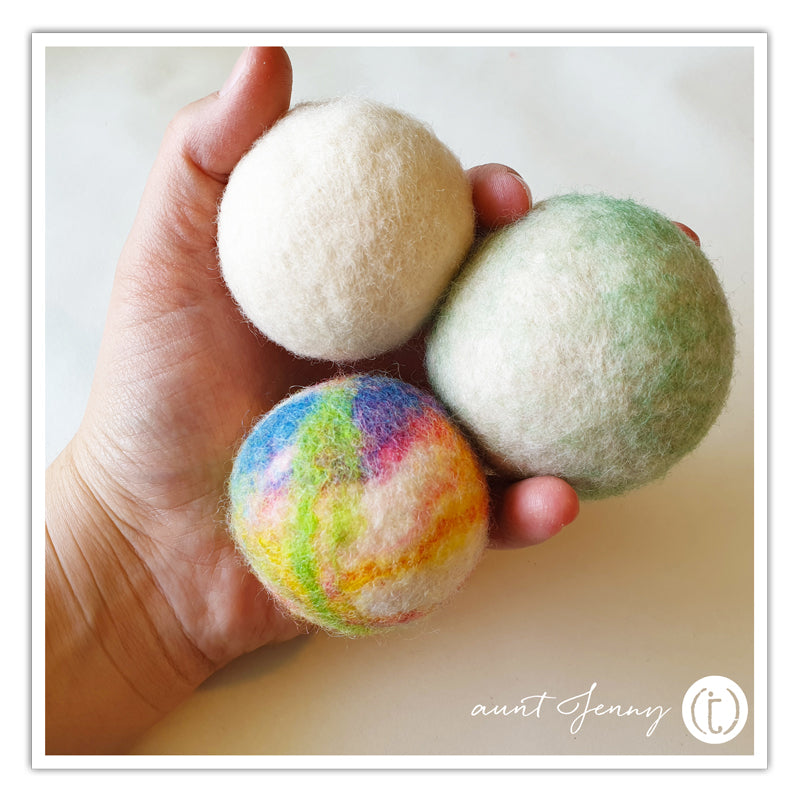
Lastly, you may have a little ‘top-knot’ where the stocking was tied. Snip this off. And you’re done! Leave the balls to air dry or chuck the in the dryer with a load. You can then give them as gifts or keep some for next week’s tutorial. 
You can make as many as you like and in various sizes. We found we still got a pretty neat ball down to 8g of fibre but the green 4g ball had too much stocking bunched up around it and it came out with a...well an 'interesting' shape. 
Last of all, how do you use them? Well you pop 3 balls in a small to medium load of washing and set to a shorter cycle than normal. The balls will work their magic helping to aerate your washing so it dries faster.
How long will they last? 100s of cycles! Replace them when they start to look really ratty, you can even felt a new layer over them to prolong their life or if they really have had it pop them in the compost as they will break down naturally.
We hope you enjoyed this tutorial and would love to see your results if you try it!


First made over 30 years ago, last made 10 years ago - Jack is back even better than before.
Due to popular demand Ashford have reintroduced the eight shaft, ten treadle 97cm (38") weaving width, folding Jack loom. Create your own beautiful fabrics with ease on this strong compact loom. In production now and ready for shipping on June 16th don't miss your chance to spend time with Jack.
